
If you encounter the following situations when using COS storage, please refer to the steps below. Rclone Transfer data to another storage location (within the same project or across projects):
1. Large Data Volume: You have a massive amount of files (e.g., ~30 million files) and wish to reduce the file count in the original bucket while retaining all data.
2. Data Duplication: You need to create a complete copy of your bucket data in another bucket.
Prerequisites
1. Establishment of the platform Linux VCS The host performs an Rclone operation
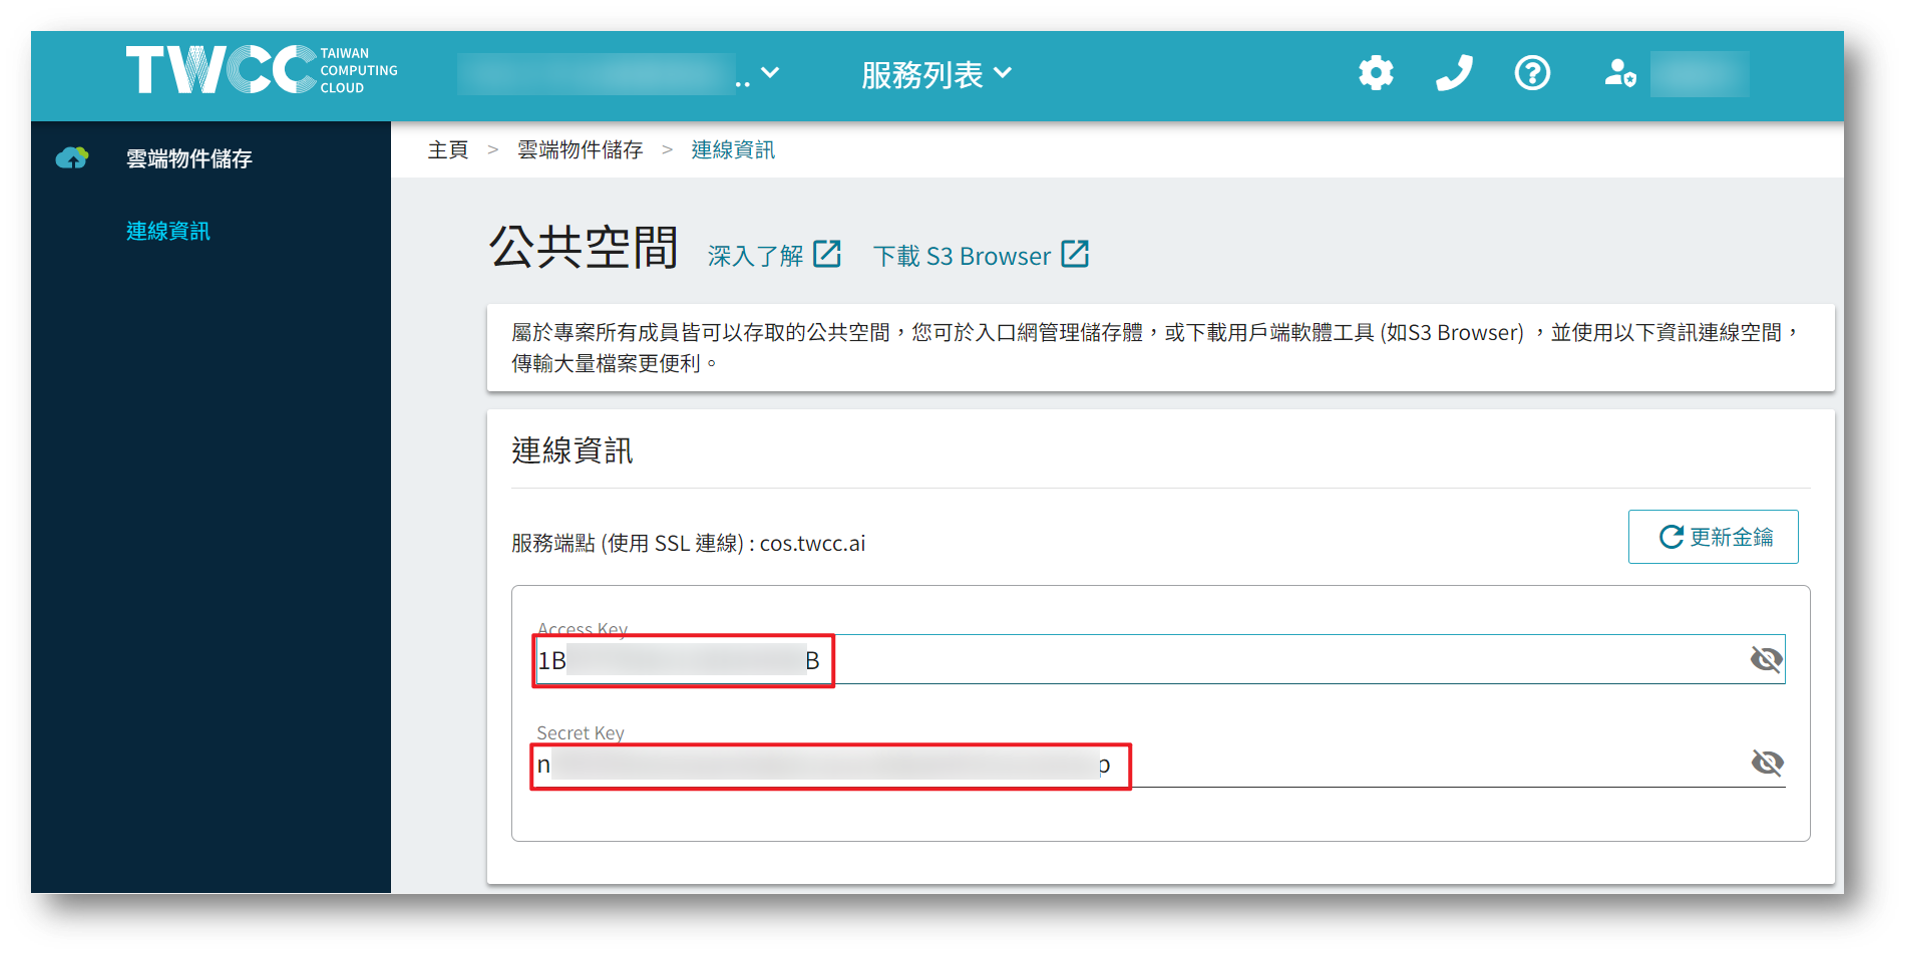
2. Obtaining the source and target COS endpoint, Access Key, Secret key,Source and target storage names

Procedure
Step 1. Install Rclone
1. Log in to the Linux VCS instance
2. Enter the command to install Rclone.
curl https://rclone.org/install.sh | sudo bash
3. Confirm successful installation.
rclone --version
Step 2. Setting up COS connection information
1. Input commands to configure the connection.
rclone config
2. Select "Add Remote", enter n
Current remotes:

Name Type
==== ====
E1 s3
G1 s3

e) Edit existing remote
n) New remote
d) Delete remote
r) Rename remote
c) Copy remote
s) Set configuration password
q) Quit config
e/n/d/r/c/s/q> n
3. COS Display Name: Please customize; it should be able to distinguish the target being connected.
name> sourceCOS
4. Connection type: Enter s3 and select the s3 connection type.
Option Storage.
Type of storage to configure.
Enter a string value. Press Enter for the default ("").
Choose a number from below, or type in your own value.
1 / 1Fichier
\ "fichier"
2 / Alias for an existing remote
\ "alias"
3 / Amazon Drive
\ "amazon cloud drive"
4 / Amazon S3 Compliant Storage Providers including AWS, Alibaba, Ceph, Digital Ocean, Dreamhost, IBM COS, Minio, SeaweedFS, and Tencent COS
\ "s3"
5 / Backblaze B2
.
.
.
45 / seafile
\ "seafile"
Storage> s3
5. S3 Service Provider: Since the platform COS is not currently on the list, select Other.
Option provider.
Choose your S3 provider.
Enter a string value. Press Enter for the default ("").
Choose a number from below, or type in your own value.
.
.
.
14 / Any other S3 compatible provider
\ "Other"
provider> Other
6. Connection authentication method: Enter false, then select Enter AWS credentials in the next step.
Option env_auth.
Get AWS credentials from runtime (environment variables or EC2/ECS meta data if no env vars).
Only applies if access_key_id and secret_access_key is blank.
Enter a boolean value (true or false). Press Enter for the default ("false").
Choose a number from below, or type in your own value.
1 / Enter AWS credentials in the next step.
\ "false"
2 / Get AWS credentials from the environment (env vars or IAM).
\ "true"
env_auth> false
7. Access key: Enter the access key for the target COS.
Option access_key_id.
AWS Access Key ID.
Leave blank for anonymous access or runtime credentials.
Enter a string value. Press Enter for the default ("").
access_key_id> TWCC_COS_access_key_id
8. secret_access_key: Enter the secret_key of the target COS
Option secret_access_key.
AWS Secret Access Key (password).
Leave blank for anonymous access or runtime credentials.
Enter a string value. Press Enter for the default ("").
secret_access_key>TWCC_COS_secret_access_key
9. Region: Press Enter to use the default value.
Option region.
Region to connect to.
Leave blank if you are using an S3 clone and you don't have a region.
Enter a string value. Press Enter for the default ("").
Choose a number from below, or type in your own value.
/ Use this if unsure.
1 | Will use v4 signatures and an empty region.
\ ""
/ Use this only if v4 signatures don't work.
2 | E.g. pre Jewel/v10 CEPH.
\ "other-v2-signature"
region>
10. Endpoint: Enter cos.twcc.ai to connect to the node.
Option endpoint.
Endpoint for S3 API.
Required when using an S3 clone.
Enter a string value. Press Enter for the default ("").
endpoint>cos.twcc.ai
11. location_constraint, press Enter to use the default value.
Option location_constraint.
Location constraint - must be set to match the Region.
Leave blank if not sure. Used when creating buckets only.
Enter a string value. Press Enter for the default ("").
location_constraint>
12. ACL, press Enter to use the default value.
Option acl.
Canned ACL used when creating buckets and storing or copying objects.
This ACL is used for creating objects and if bucket_acl isn't set, for creating buckets too.
For more info visit https://docs.aws.amazon.com/AmazonS3/latest/dev/acl-overview.html#canned-acl
Note that this ACL is applied when server-side copying objects as S3
doesn't copy the ACL from the source but rather writes a fresh one.
Enter a string value. Press Enter for the default ("").
Choose a number from below, or type in your own value.
/ Owner gets FULL_CONTROL.
1 | No one else has access rights (default).
\ "private"
/ Owner gets FULL_CONTROL.
2 | The AllUsers group gets READ access.
\ "public-read"
/ Owner gets FULL_CONTROL.
3 | The AllUsers group gets READ and WRITE access.
| Granting this on a bucket is generally not recommended.
\ "public-read-write"
/ Owner gets FULL_CONTROL.
4 | The AuthenticatedUsers group gets READ access.
\ "authenticated-read"
/ Object owner gets FULL_CONTROL.
5 | Bucket owner gets READ access.
| If you specify this canned ACL when creating a bucket, Amazon S3 ignores it.
\ "bucket-owner-read"
/ Both the object owner and the bucket owner get FULL_CONTROL over the object.
6 | If you specify this canned ACL when creating a bucket, Amazon S3 ignores it.
\ "bucket-owner-full-control"
acl>private
13. To edit details, press Enter to use the preset values.
Edit advanced config?
y) Yes
n) No (default)
y/n>
14. Confirm the input. Once confirmed, enter 'y' to save the file.
--------------------
[sourceCOS]
type = s3
provider = Other
access_key_id =
secret_access_key =
endpoint = cos.twcc.ai
--------------------
y) Yes this is OK (default)
e) Edit this remote
d) Delete this remote
y/e/d> y
15. Return to the starting screen, repeat this step, establish a connection between targetCOS and targetCOS, then type q to exit this screen.
Current remotes:

Name Type
==== ====
E1 s3
G1 s3
sourceCOS s3
targetCOS s3

e) Edit existing remote
n) New remote
d) Delete remote
r) Rename remote
c) Copy remote
s) Set configuration password
q) Quit config
e/n/d/r/c/s/q>q
Step 3. Data transfer
1. Confirm connection settings; sourceCOS and targetCOS have been established.
ubuntu@awsclitest02-2451501-iaas:~$ rclone config

Current remotes:

Name Type
==== ====
E1 s3
G1 s3
sourceCOS s3
targetCOS s3

e) Edit existing remote
n) New remote
d) Delete remote
r) Rename remote
c) Copy remote
s) Set configuration password
q) Quit config
e/n/d/r/c/s/q> q
2. After completing the settings, you can proceed with transferring data from the source storage to the target storage.
Once completed, you can then delete any unnecessary data from the source storage.
rclone sync sourceCOS: targetCOS: