TWCC's VCS service primarily provides users with the ability to create Windows Server image files. However, in some use cases, there may be a need to switch between two operating systems simultaneously. This article explains how to deploy a Windows Subsystem for Linux on a virtual computing instance in TWCC.
Prerequisites
Windows Server 2019 (2CPU, 2GB memory,100G HDD) Virtual Compute Instance
Procedure
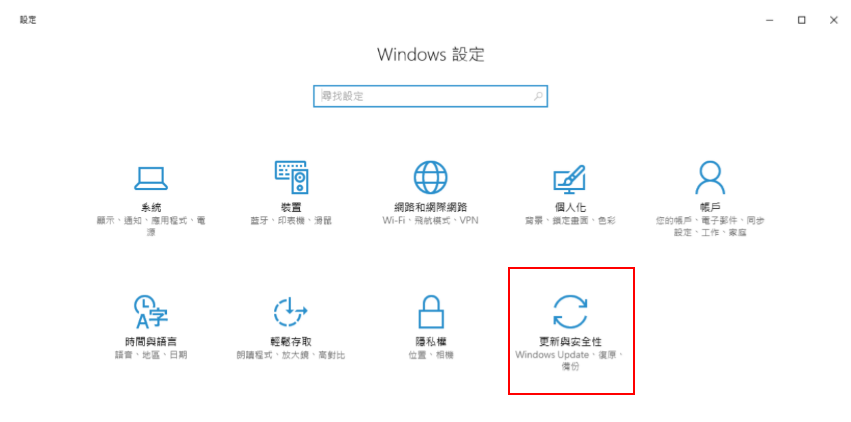
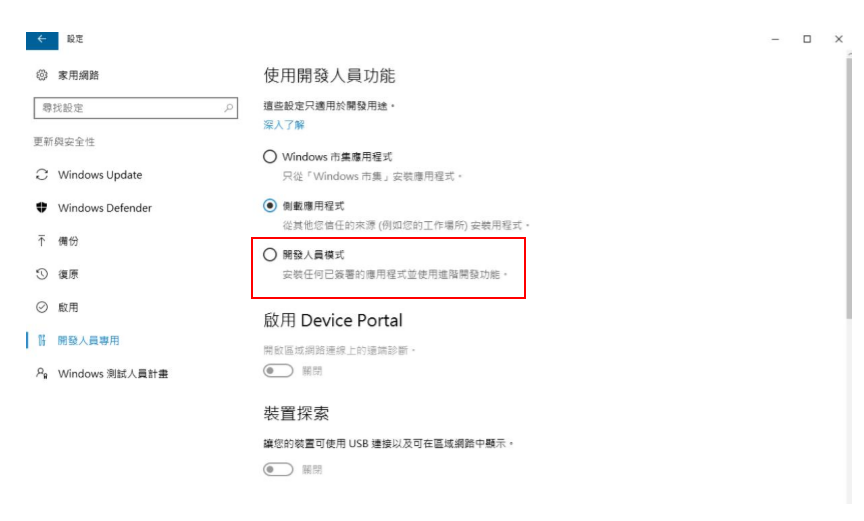
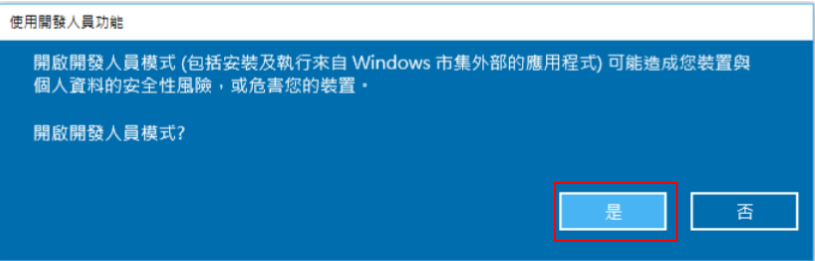
1. Enable Developer Mode
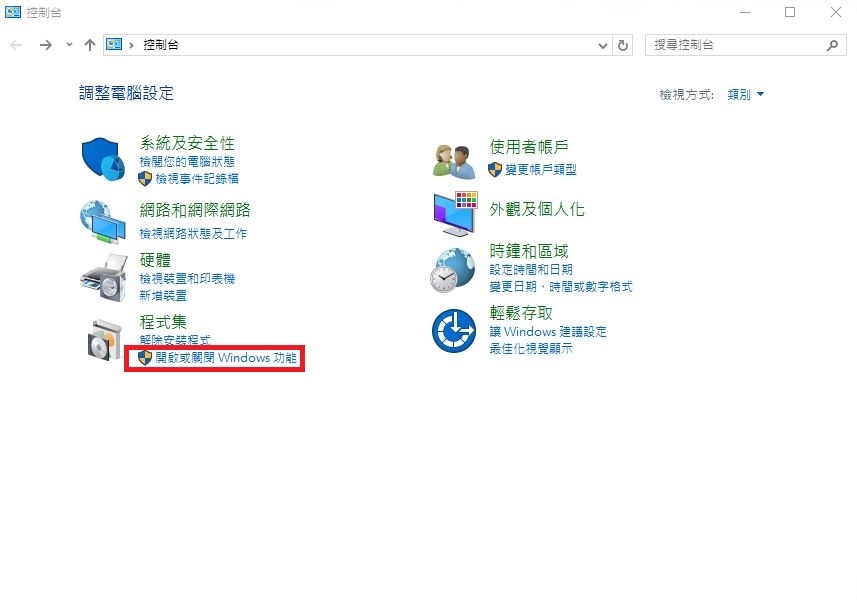
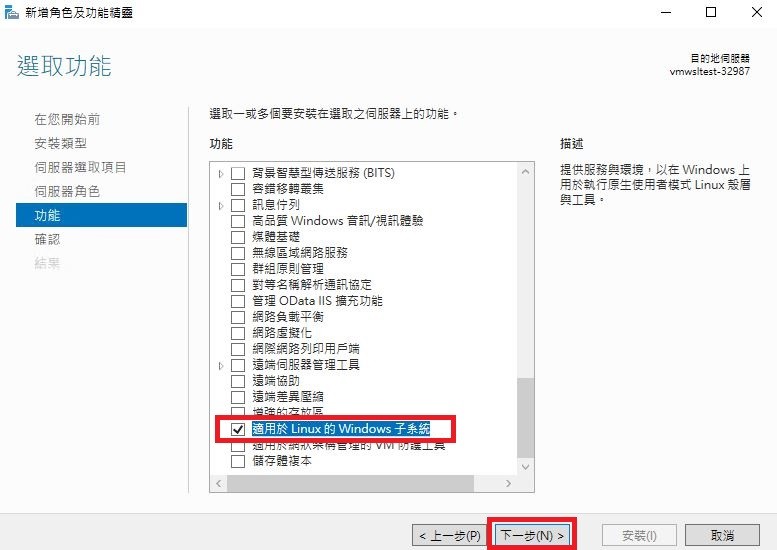
2. Enable and Configure Windows Subsystem for Linux
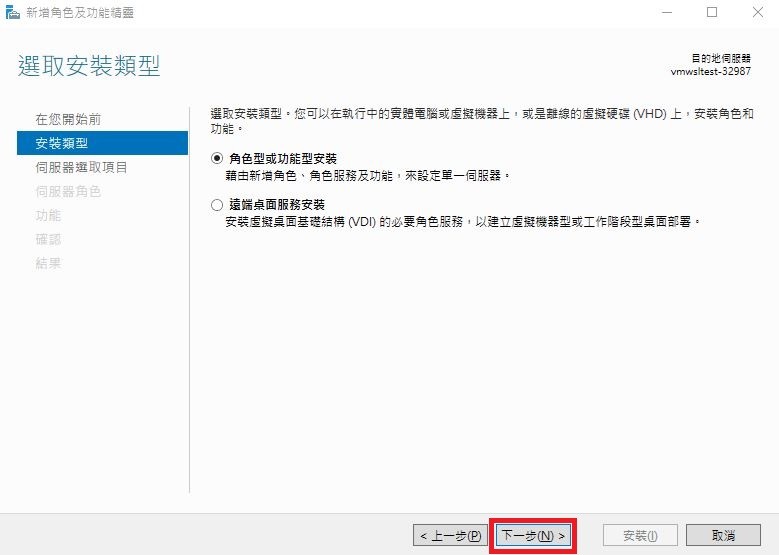
Select installation type (Role-based or feature-based installation)
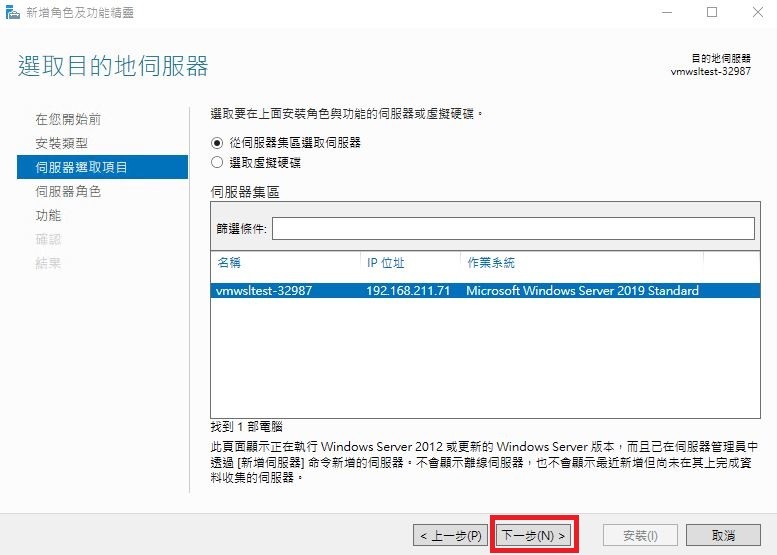
Server selection
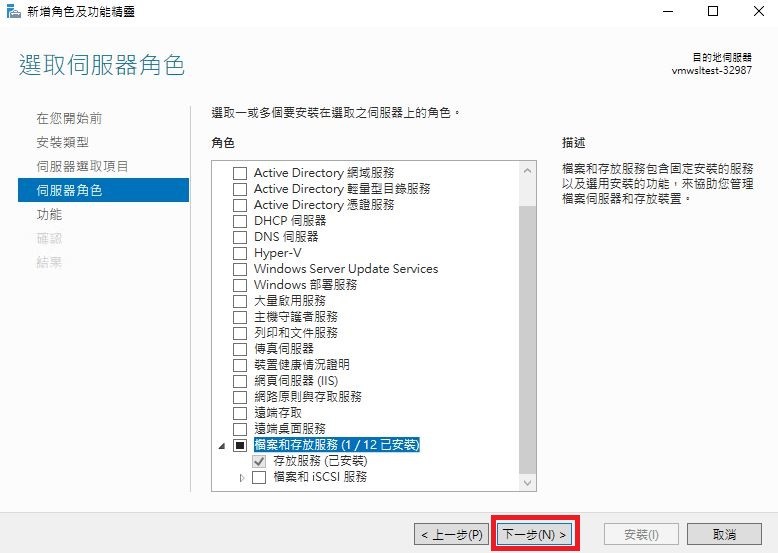
Select server role (proceed to the next step).
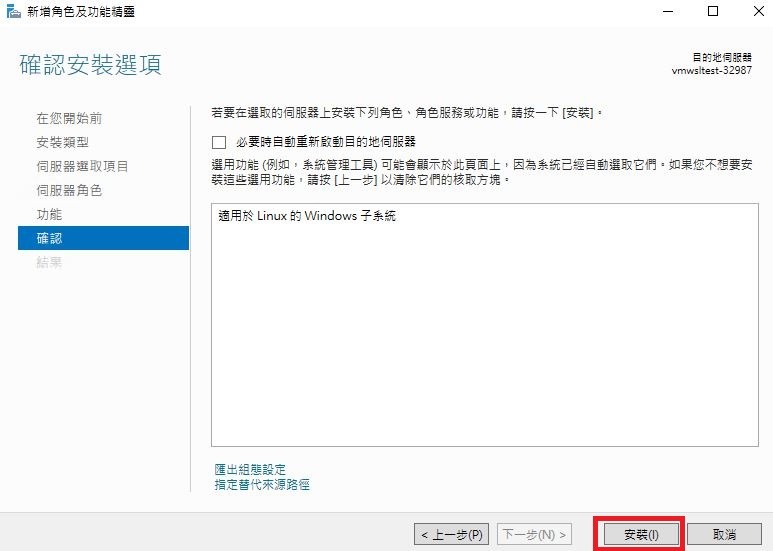
Features (Select Windows Subsystem for Linux)
Install
The installation process takes about 20–30 minutes.
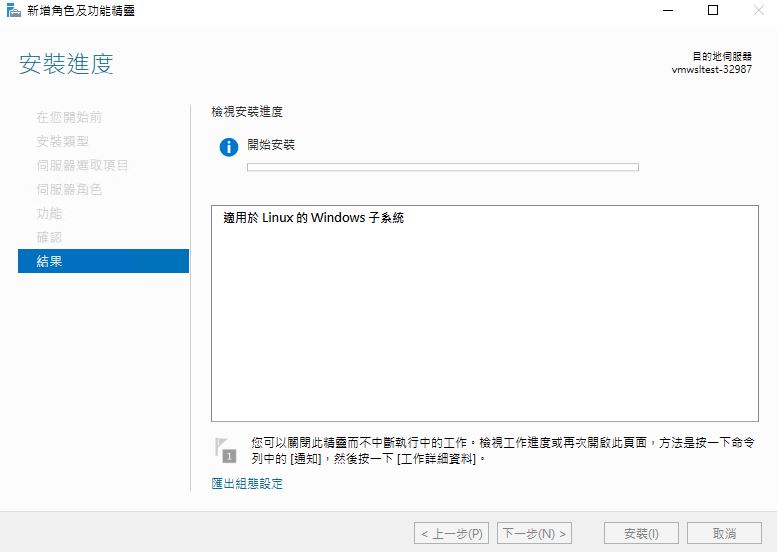
After installation is complete, you must restart the virtual compute instance.
3. Open PowerShell and Install WSL 1
- dism.exe /online /enable-feature /featurename:VirtualMachinePlatform /all /norestart

If you only want to install WSL 1, please restart the computer now. Wait about 3–5 minutes, then reconnect to the VM via Remote Desktop.
To update to WSL 2, please continue with the following steps; otherwise, skip this step.
- dism.exe /online /enable-feature /featurename:VirtualMachinePlatform /all /norestart

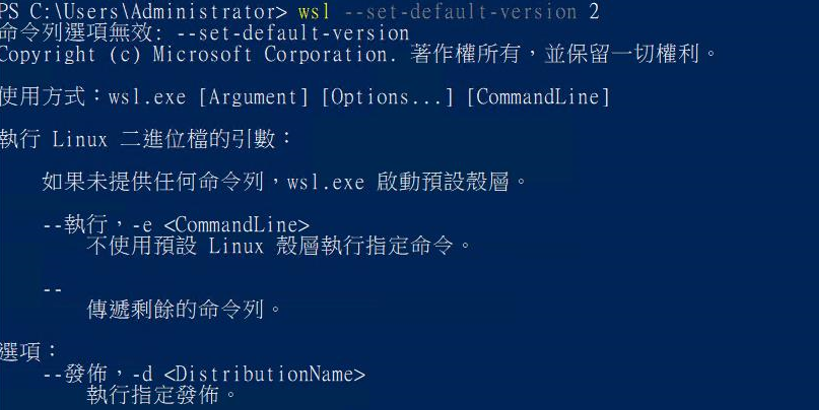
Set WSL 2 as the default version
- wsl –set-default-version 2
Restart your computer to complete the installation and upgrade to WSL 2. Wait about 3–5 minutes, then reconnect to the VM via Remote Desktop.
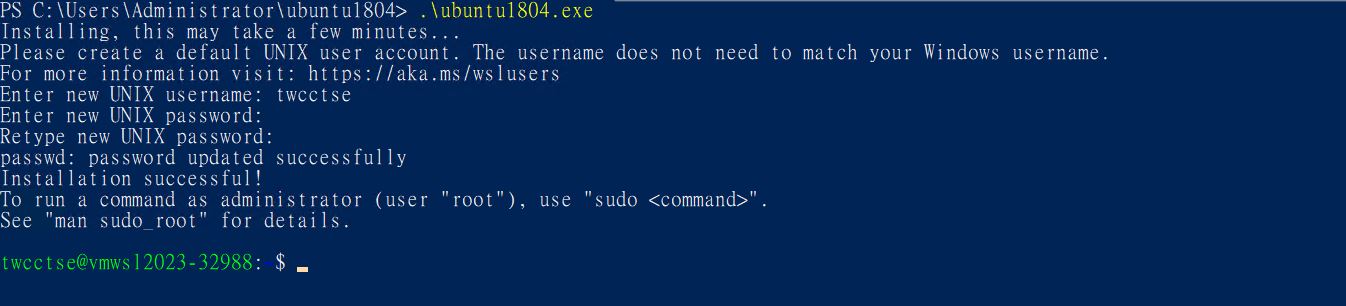
4. Install a Specific Version of Ubuntu
This article uses Ubuntu 18.04 as an example.
1. Download the version of Ubuntu you request to use and rename it.
- curl.exe -L -o ubuntu-1804.appx https://aka.ms/wsl-ubuntu-1804
- Rename-Item ubuntu-1804.appx ubuntu-1804.zip

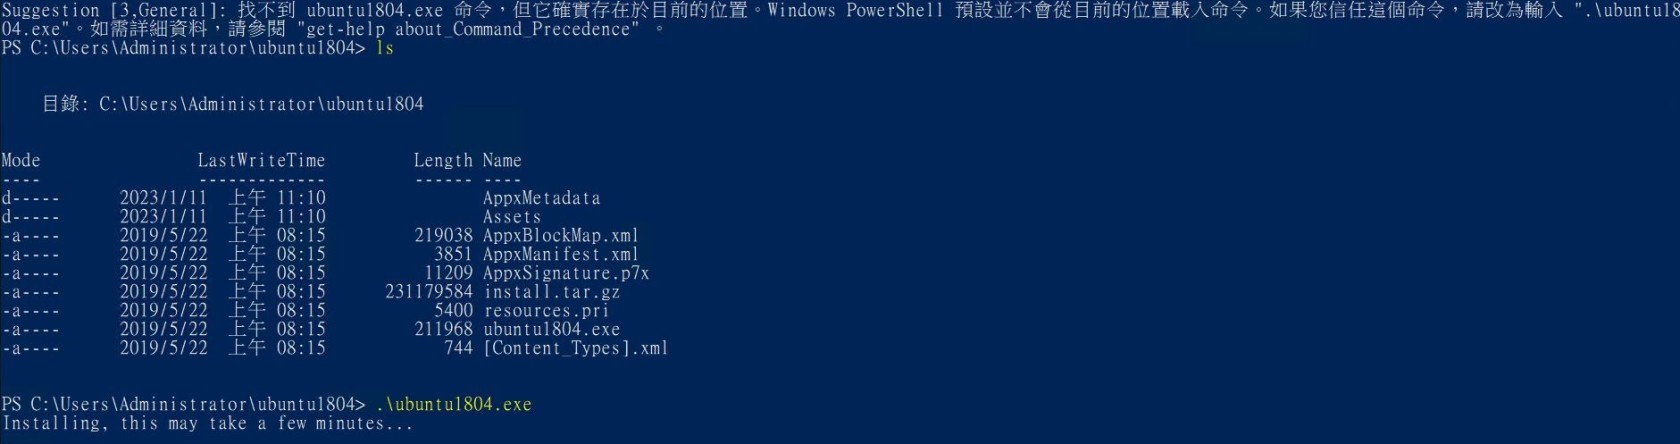
2. Unzip the file and enter the folder.
- Expand-Archive ubuntu-1804.zip ubuntu1804
- cd ubuntu1804
![]()
3. Run the Ubuntu environment
4. Set up username and password, then enter the Ubuntu environment